
If you are making a website or testing a project which requires Apache, MySQL & PHP, you can install and test that from your windows PC easily. Did you ever think of installing a WordPress site on your PC? You can easily do that with WAMP. We can test plugins and customize any sites by installing a WAMP server as local server in our own PC.

What is WAMP: So, to tell about WAMP, it is Windows PC based software that creates a local server in your PC to run Apache, MySQL & PHP based projects.
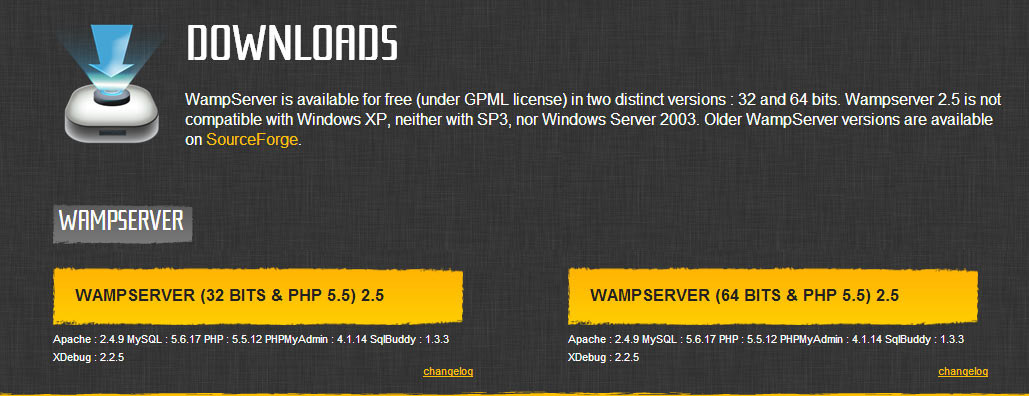
How to Install: You can install the applications one by one separately or you can also download a software package called “WAMP Server” from WampServer website. Choose the correct version according to your Windows (64-bit or 32-bit). Be careful while choosing the version as 64-bit won’t work on 32-bit Windows. But a 32-bit software will work on a 64-bit PC.
While installing, it might ask you for choosing a default browser to choose for it to open. By default its set to Internet Explorer, which can be changed to other Explorer like Google Chrome or Firefox.
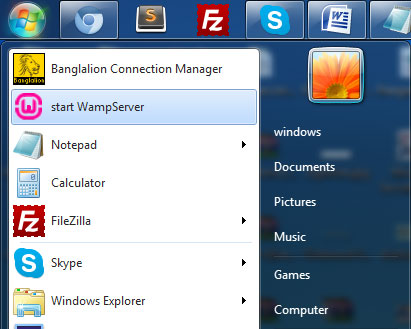
Once you are done installing WAMP Server, launch it.
Notes:
* If after installing WAMP you get a 404 error, make sure the server is actually running. Navigate to wampserver > apache > service > install service… opens prompt, hit enter… wampserver icon turns green.
* Sometimes WAMP collides with software running with the same port as wamp. Just change the port to 1659 will perfectly run WAMP.
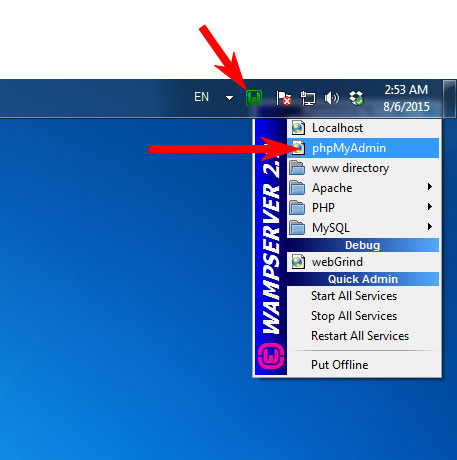
Creating Database: For creating a database on WAMP, go to WAMP icon on Task manager > Select phpMyAdmin > Go to Databases Menu > create your own database.
